 admin
admin 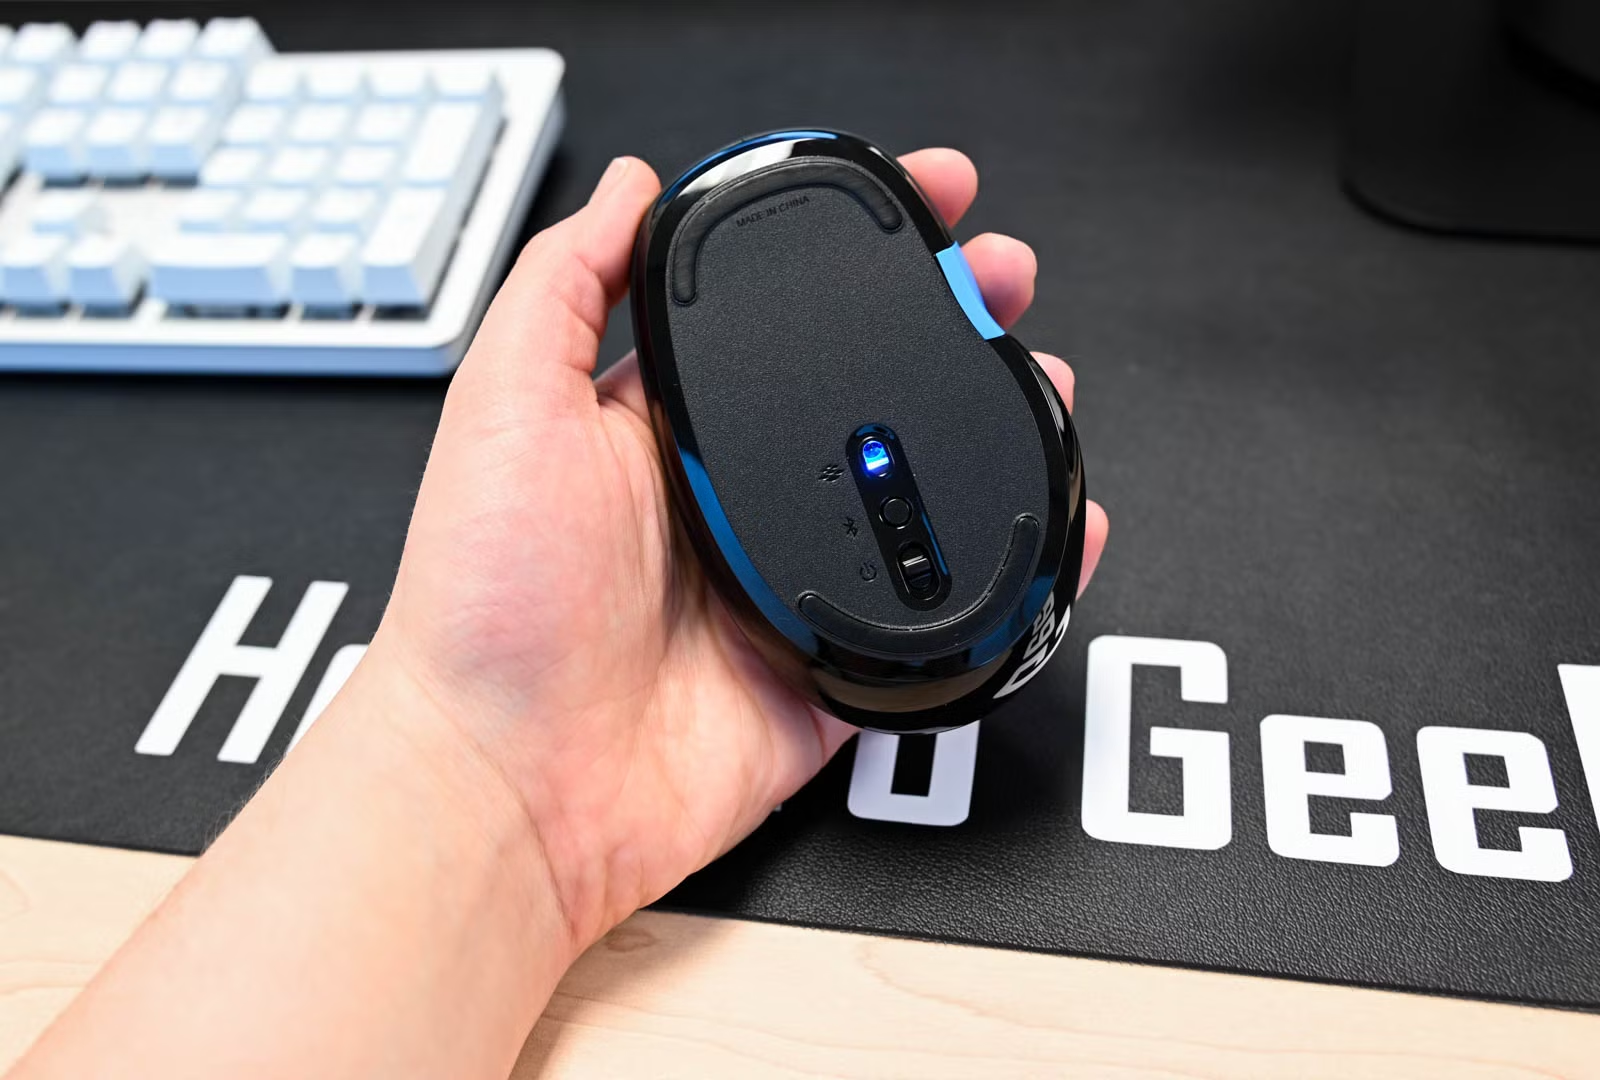
A Logitech wireless mouse is one of the most popular computer accessories for work, gaming, and everyday browsing. Many users search for how to connect Logitech wireless mouse because the setup process can sometimes feel confusing, especially for beginners. The good news is that Logitech wireless mice are designed to connect quickly and easily with laptops, desktops, and even tablets.
In this complete guide, you will learn how to connect Logitech wireless mouse using different methods, including USB receivers, Bluetooth, and Logitech software. Whether you use Windows, macOS, or another device, this article will help you set up your mouse properly.
Table of Contents
ToggleWhy Choose a Logitech Wireless Mouse?
Before learning how to connect Logitech wireless mouse, it is important to understand why Logitech mice are so popular worldwide.
Logitech wireless mice are known for:
- Smooth performance
- Long battery life
- Comfortable design
- Easy connectivity
- Reliable wireless technology
They are suitable for:
- Office work
- Gaming
- Graphic design
- Online classes
- Everyday browsing
Most Logitech wireless mice connect either through:
- A USB wireless receiver
- Bluetooth technology
Things You Need Before Connecting Logitech Wireless Mouse
Before starting the process of how to connect Logitech wireless mouse, make sure you have the following:
- Logitech wireless mouse
- Batteries (if required)
- USB receiver (dongle)
- Laptop or desktop computer
- Bluetooth-enabled device (for Bluetooth models)
Some modern Logitech mice come with rechargeable batteries, while others use AA or AAA batteries.
How to Connect Logitech Wireless Mouse Using USB Receiver
The easiest and most common method for how to connect Logitech wireless mouse is through the USB receiver.
Step 1: Insert Batteries
Open the battery compartment at the bottom of the mouse.
Insert:
- AA battery
or - AAA battery
depending on your mouse model.
Make sure the positive and negative ends are placed correctly.
Step 2: Turn On the Mouse
Most Logitech mice have a power switch underneath.
- Slide the switch to ON
- A green light may appear
This means the mouse is powered properly.
Step 3: Plug the USB Receiver Into Your Computer
Logitech wireless mice include a tiny USB receiver called a dongle.
To continue the process of how to connect Logitech wireless mouse:
- Insert the USB receiver into a USB port
- Wait a few seconds
Your computer will automatically detect the device.
Step 4: Start Using the Mouse
Once connected:
- Move the mouse
- Check if the cursor moves on the screen
If it works, your setup is complete.
This is the fastest method for how to connect Logitech wireless mouse on Windows and Mac computers.
How to Connect Logitech Wireless Mouse via Bluetooth
Some Logitech models support Bluetooth connectivity. This method is useful when your laptop has limited USB ports.
Step 1: Enable Bluetooth on Your Device
For Windows:
- Open Settings
- Go to Bluetooth & Devices
- Turn Bluetooth ON
For Mac:
- Open System Settings
- Select Bluetooth
- Enable Bluetooth
Step 2: Turn On Pairing Mode
To continue learning how to connect Logitech wireless mouse using Bluetooth:
- Turn on the mouse
- Press and hold the Bluetooth button
A blinking light usually means pairing mode is active.
Step 3: Search for Logitech Mouse
Your device will scan for nearby Bluetooth devices.
You should see:
- Logitech Mouse
or - MX Master
or your model name
Click the device name.
Step 4: Complete Pairing
Select:
- Pair
or - Connect
After a few seconds, the mouse will start working.
Now you successfully understand how to connect Logitech wireless mouse using Bluetooth technology.
How to Connect Logitech Wireless Mouse on Windows 11
Many users specifically search for how to connect Logitech wireless mouse on Windows 11.
The setup process is simple.
Using USB Receiver
- Insert batteries
- Turn on the mouse
- Plug in the USB receiver
- Windows installs drivers automatically
Using Bluetooth
- Open Settings
- Click Bluetooth & Devices
- Add Device
- Choose Bluetooth
- Select your Logitech mouse
Windows 11 usually connects within seconds.
How to Connect Logitech Wireless Mouse on Windows 10
The process for how to connect Logitech wireless mouse on Windows 10 is nearly identical.
Steps:
- Enable Bluetooth
- Put mouse in pairing mode
- Add Bluetooth device
- Select the Logitech mouse
Windows 10 automatically installs necessary drivers.
How to Connect Logitech Wireless Mouse on Mac
Mac users also often ask about how to connect Logitech wireless mouse.
USB Receiver Method
- Plug the receiver into your Mac
- Turn on the mouse
- Wait for automatic detection
Bluetooth Method
- Open System Settings
- Go to Bluetooth
- Turn Bluetooth ON
- Select your Logitech mouse
- Click Connect
Your mouse should now work smoothly with macOS.
How to Connect Logitech Wireless Mouse Without Receiver
Sometimes users lose the USB receiver and want to know how to connect Logitech wireless mouse without it.
The answer depends on your mouse model.
If Your Mouse Supports Bluetooth
You can connect directly through Bluetooth:
- Enable Bluetooth
- Put mouse in pairing mode
- Pair the device
If Your Mouse Does Not Support Bluetooth
Unfortunately, some older Logitech mice only work with their original USB receiver.
In this case:
- You may need a replacement receiver
- Logitech Unifying Receiver may help
What Is Logitech Unifying Receiver?
While learning how to connect Logitech wireless mouse, you may hear about the Logitech Unifying Receiver.
This small USB device allows multiple Logitech devices to connect through one receiver.
Benefits include:
- Connect multiple devices
- Save USB ports
- Stable connection
- Easy setup
Compatible devices usually display the Unifying logo.
How to Use Logitech Unifying Software
If your mouse supports the Unifying Receiver, you can install Logitech software.
The software helps:
- Pair devices
- Customize buttons
- Update firmware
- Improve performance
This makes the process of how to connect Logitech wireless mouse even easier.
Common Problems When Connecting Logitech Wireless Mouse
Sometimes users face issues during setup.Below are common problems and solutions.
Logitech Wireless Mouse Not Working
If your mouse is not responding:
Try These Fixes
- Replace batteries
- Reconnect the receiver
- Restart your computer
- Turn mouse off and on
- Check Bluetooth settings
These simple steps usually solve most problems related to how to connect Logitech wireless mouse.
USB Receiver Not Detected
Sometimes the USB dongle is not recognized.
Solutions
- Try another USB port
- Restart the computer
- Update USB drivers
- Clean the USB port
Bluetooth Connection Issues
If Bluetooth pairing fails:
Fixes
- Remove old paired devices
- Restart Bluetooth
- Bring mouse closer
- Recharge the battery
Cursor Lag or Delay
Lagging movement can happen due to interference.
Improve Performance
- Keep receiver closer
- Avoid metal surfaces
- Replace weak batteries
- Update mouse drivers
How to Connect Logitech Wireless Mouse to Laptop
The process for how to connect Logitech wireless mouse to a laptop is very easy.
Using Receiver
- Plug receiver into laptop USB port
- Turn on the mouse
- Wait for automatic connection
Using Bluetooth
- Enable laptop Bluetooth
- Activate mouse pairing mode
- Select the mouse from Bluetooth devices
Most laptops support both methods.
How to Connect Logitech Wireless Mouse to Chromebook
Chromebook users can also follow simple steps.
USB Receiver Method
- Plug in the receiver
- Turn on the mouse
- Chromebook automatically detects it
Bluetooth Method
- Open Settings
- Click Bluetooth
- Enable Bluetooth
- Pair the mouse
Now you know how to connect Logitech wireless mouse on ChromeOS as well.
Battery Tips for Logitech Wireless Mouse
Battery maintenance is important for smooth performance.
Helpful Tips
- Turn off the mouse when unused
- Use quality batteries
- Recharge regularly if rechargeable
- Remove batteries during long storage
Good battery care improves wireless stability.
Best Logitech Wireless Mouse Models
Some popular Logitech wireless mice include:
- Logitech MX Master Series
- Logitech M185
- Logitech M720 Triathlon
- Logitech Pebble Mouse
- Logitech G Pro Wireless
Each model may have slightly different setup steps, but the basic process of how to connect Logitech wireless mouse remains similar.
Advantages of Logitech Wireless Mouse
After learning how to connect Logitech wireless mouse, you can enjoy many benefits.
Key Advantages
- No cable clutter
- Better portability
- Comfortable usage
- Long wireless range
- Smooth tracking
Wireless mice are excellent for both office and home use.
Tips for Better Wireless Mouse Performance
To get the best experience:
- Keep software updated
- Use fresh batteries
- Avoid signal interference
- Keep the sensor clean
- Use a mouse pad
These small tips can improve overall mouse responsiveness.
Frequently Asked Questions How do I reset my Logitech wireless mouse?
Turn off the mouse, remove batteries for 30 seconds, then reconnect everything.
Why is my Logitech mouse blinking?
A blinking light usually means:
- Low battery
or - Pairing mode is active
Can I use one receiver for multiple Logitech devices?
Yes, if your devices support Logitech Unifying technology.
Do Logitech wireless mice work with Mac?
Yes, most Logitech wireless mice support macOS.
Can I connect Logitech wireless mouse without Bluetooth?
Yes, you can use the USB receiver instead.
Final Thoughts on How to Connect Logitech Wireless Mouse
Learning how to connect Logitech wireless mouse is simple once you understand the correct steps. Whether you use a USB receiver or Bluetooth, Logitech devices are designed for quick and reliable setup.
Most connection problems can be fixed by:
- Checking batteries
- Restarting the device
- Reconnecting Bluetooth
- Updating drivers
By following this complete guide, you can easily connect your Logitech wireless mouse to Windows, Mac, Chromebook, or laptop devices without any hassle.
If you are using a newer Logitech mouse model, the setup process becomes even faster thanks to advanced wireless and Bluetooth technologies.