 admin
admin 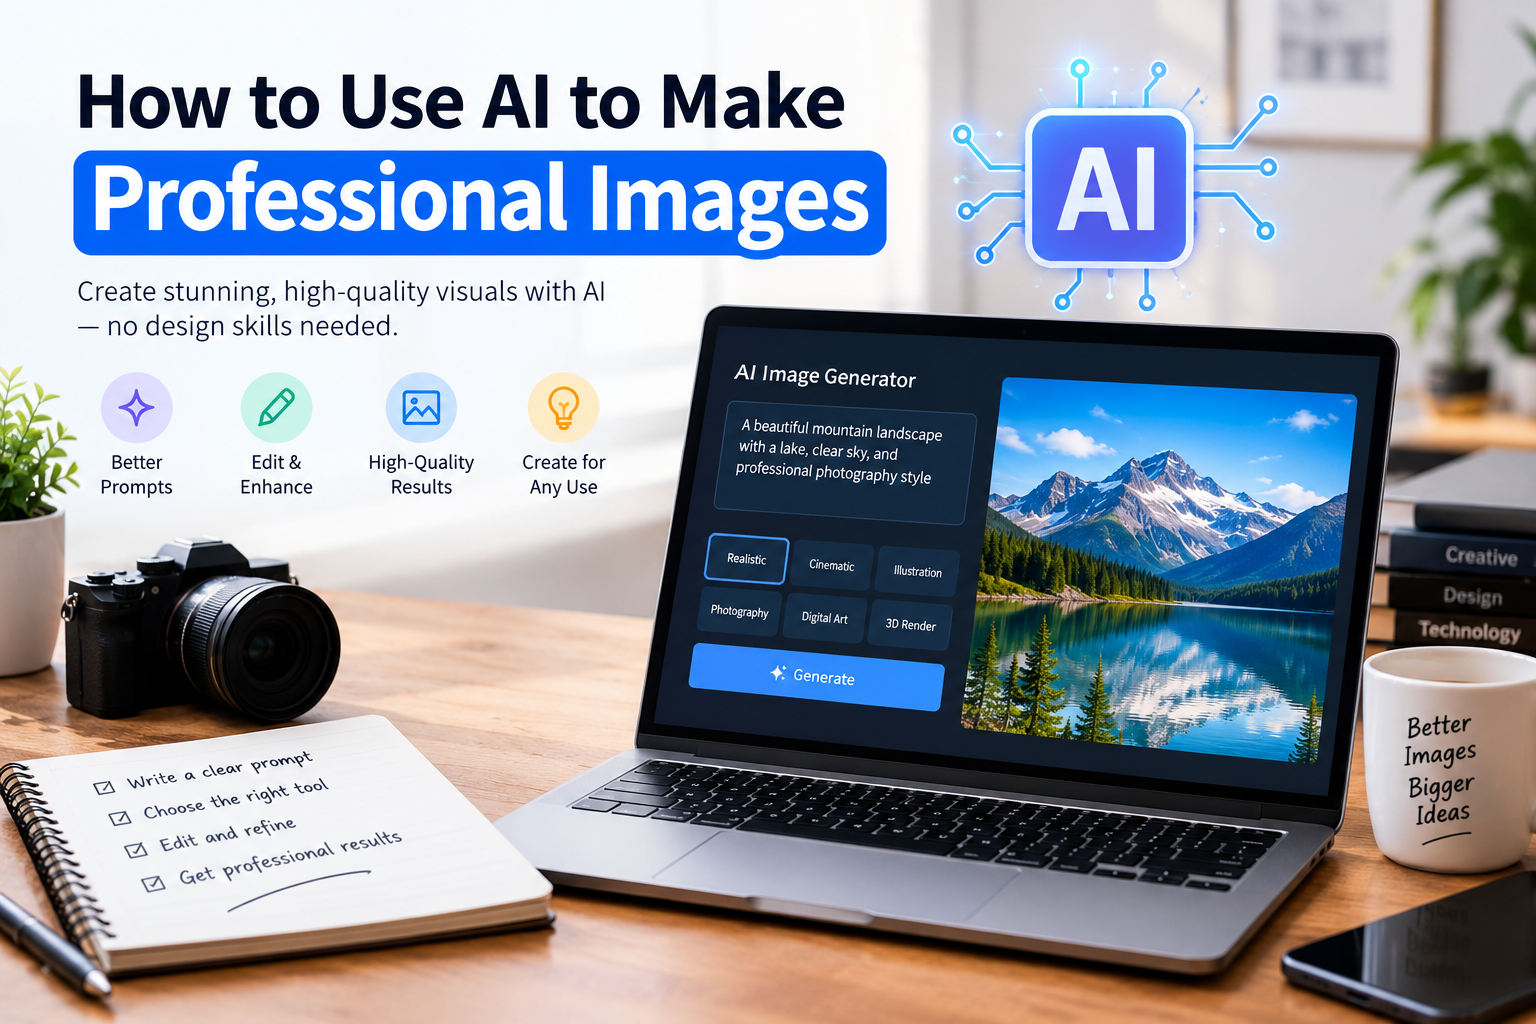
Creating a professional-looking image used to require graphic design software, photography skills, or a designer. Today, how to use AI to make professional images is a much more accessible skill. AI image generators can turn a written description into an image, improve an existing visual, create marketing graphics, and help you explore design ideas quickly.
However, getting a professional result is not simply a matter of typing a few words into an AI tool. The quality of your prompt, image composition, brand requirements, editing process, and final review all affect the result.
This guide explains how to use AI image generation effectively, from choosing the right idea and writing a detailed prompt to editing, checking quality, and preparing the finished image for publication.
What Is AI Image Generation?
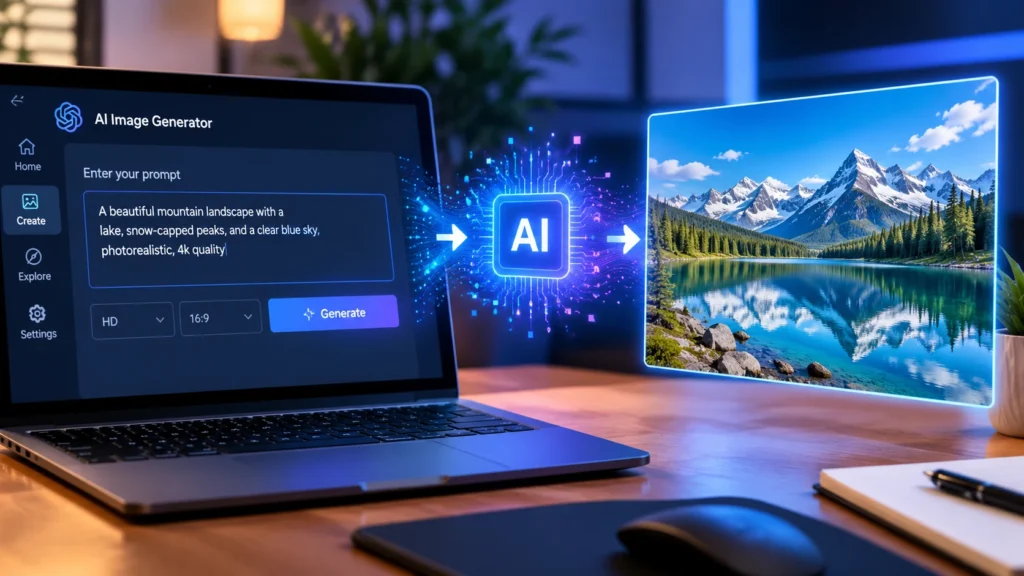
AI image generation is a technology that creates or modifies images based on instructions provided by a user. You can describe a subject, environment, style, lighting, camera angle, colors, and other visual details, and an AI tool can use those instructions to produce an image.
For example, instead of manually designing a coffee advertisement, you could describe:
A premium coffee product on a wooden table, warm natural lighting, modern café background, realistic commercial photography, clean composition, space for headline text.
The AI can then create a visual based on those requirements.
AI image tools can be useful for:
- Blog and website graphics
- Social media posts
- Product advertisements
- YouTube thumbnails
- Presentation graphics
- Marketing campaigns
- Concept designs
- Educational illustrations
- Background images
- Brand content
How to Use AI to Make Professional Images
A professional AI-generated image usually starts with a clear objective. Before opening an image generator, decide what the image needs to communicate.
1. Define the Purpose of the Image
Start by identifying where the image will be used.
An image for a blog article has different requirements from an Instagram advertisement or an e-commerce product image.
Consider:
- What is the image about?
- Who will see it?
- Where will it be published?
- What aspect ratio is required?
- Should the image contain text?
- Does it need to match an existing brand?
For example, a technology blog might need a wide image showing a modern computer desktop, while a social media advertisement may require a vertical composition.
Defining the purpose first prevents unnecessary revisions later.
2. Choose the Right AI Image Generator
Different AI image generators have different strengths. Some are designed for general image creation, while others are particularly useful for editing, design workflows, or creating visuals from reference images.
When choosing a tool, consider:
- Image quality
- Prompt control
- Editing capabilities
- Reference-image support
- Aspect-ratio options
- Text-rendering ability
- Commercial-use terms
- Export resolution
You do not necessarily need the most complicated tool. The best option is the one that gives you sufficient control over the visual you are trying to create.
3. Write a Detailed AI Image Prompt
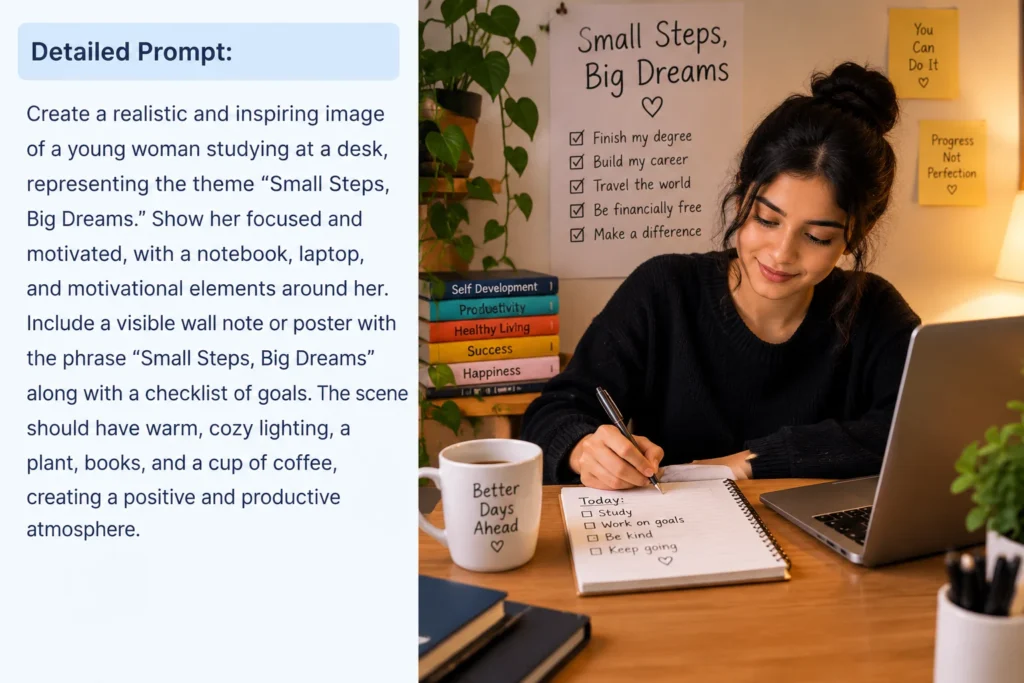
Your prompt is one of the most important parts of the process.
A weak prompt might say:
Make a professional laptop image.
That leaves many visual decisions to the AI.
A stronger prompt explains the subject, environment, composition, lighting, style, and purpose:
Create a photorealistic commercial image of a modern silver laptop on a clean white desk, bright natural window lighting, minimalist home-office environment, realistic materials and reflections, front three-quarter camera angle, premium technology advertisement style, clean composition, landscape format, high detail.
A useful prompt can include:
Subject: What should appear in the image?
Setting: Where is the scene taking place?
Composition: How should objects or people be arranged?
Lighting: Should the scene use natural, studio, dramatic, or soft lighting?
Style: Should it look like product photography, editorial photography, illustration, or something else?
Camera perspective: Should the image be close-up, wide-angle, overhead, or eye-level?
Output requirements: Specify orientation or aspect ratio when needed.
4. Use Reference Images When Consistency Matters
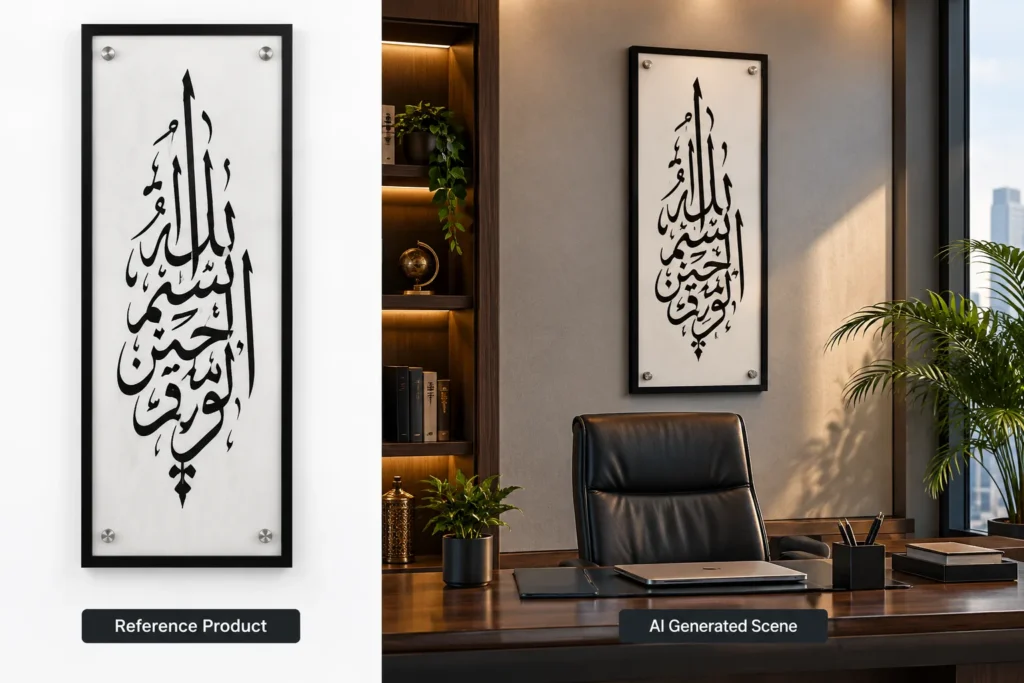
Reference images are especially useful when the generated image must match an existing product, person, package, logo, room, or design.
For example, if you are creating several advertisements for the same product, provide a suitable reference image when the tool supports it and clearly explain what should remain unchanged.
Useful instructions include:
- Keep the product shape unchanged.
- Preserve the original packaging.
- Maintain the same logo.
- Keep the same color scheme.
- Change only the background.
- Keep the subject’s appearance consistent.
This can be more reliable than trying to describe every visual detail from scratch.
5. Generate Several Versions
Do not automatically choose the first result.
AI-generated images can contain small problems such as:
- Incorrect object proportions
- Strange hands or facial details
- Unwanted objects
- Incorrect text
- Inconsistent logos
- Unrealistic reflections
- Awkward positioning
Generate or edit multiple versions and compare them against your original requirements.
The goal is not simply to find an attractive image. The goal is to find an image that actually communicates the intended message.
How to Make AI Images Look More Realistic
If you want a realistic image rather than an obviously AI-generated visual, focus on details that occur naturally in photography.
Use Realistic Lighting
Describe the lighting instead of simply saying “realistic.”
For example:
Soft natural daylight entering through a large window, subtle shadows, realistic highlights and natural contrast.
Describe Materials
Materials help establish realism.
Instead of:
A modern table.
Try:
A light oak wooden table with visible natural grain and a matte finish.
Avoid Excessive Detail
Adding every possible visual instruction can make the prompt confusing. Include details that actually matter to the final image.
A focused prompt is generally easier to refine than a paragraph containing unrelated instructions.
Review Small Details
Zoom into the final image and check:
- Hands
- Faces
- Product labels
- Logos
- Text
- Edges
- Shadows
- Reflections
- Object proportions
A picture can look convincing at first glance while still containing obvious errors when viewed closely.
How to Use AI for Product Images
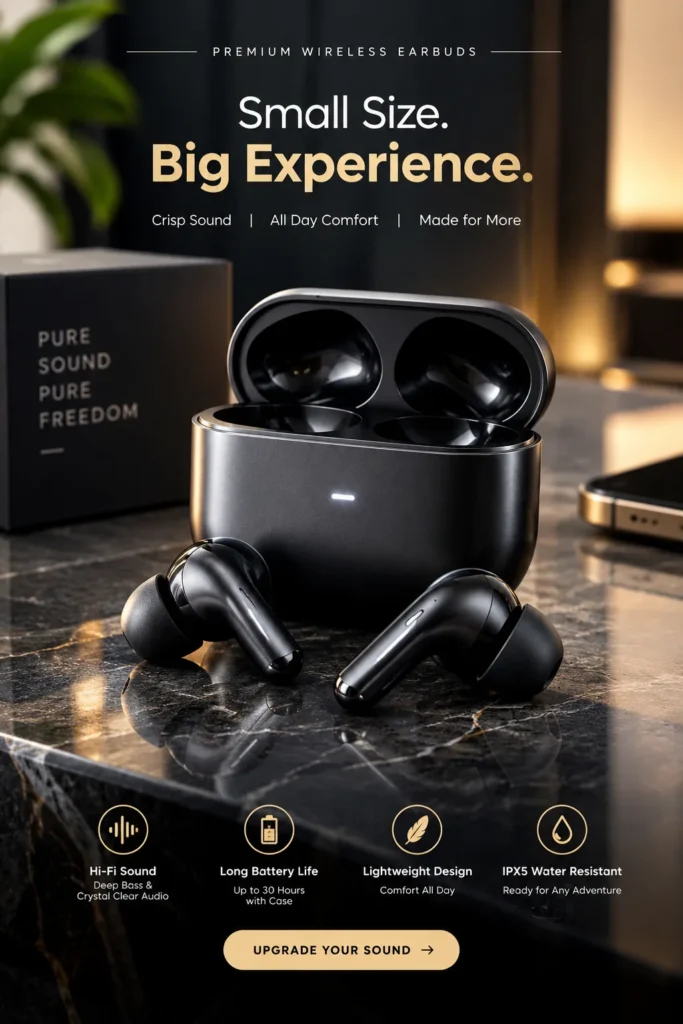
AI can also help create professional product visuals without building an entirely new photo shoot for every concept.
For example, you might have a product photo with a plain background and want to visualize it in a premium setting.
A useful workflow is:
- Start with a clear product reference.
- Keep the product itself unchanged.
- Describe the desired environment.
- Specify the lighting and camera perspective.
- Generate several background concepts.
- Check the product edges and proportions.
- Correct any unwanted changes.
- Export the final image at an appropriate resolution.
This approach is particularly useful for concept development, promotional graphics, and visual experimentation.
Always check the terms of the AI service and the rights associated with any source images before using the result commercially.
How to Create AI Images for Social Media
Social media images need to communicate their message quickly.
Before generating an image, determine the platform and required format. A vertical social post, a landscape website banner, and a square product graphic should not necessarily use the same composition.
For social media graphics:
- Keep the main subject easy to recognize.
- Leave appropriate space for text if needed.
- Avoid cluttered backgrounds.
- Use consistent brand colors.
- Keep important content away from areas likely to be covered by interface elements.
- Create variations for different platforms when necessary.
If the image will contain important promotional wording, consider adding the text during the design or editing stage rather than relying entirely on image generation.
How to Use AI for Blog Images
AI can be particularly useful for creating original visuals for informational articles.
For example, an article about computer performance could use an image showing:
- A modern desktop computer
- A performance-monitoring interface
- Storage hardware
- A clean technical workspace
Instead of using the same generic stock-photo style repeatedly, create visuals that directly represent each article’s subject.
This can make a technology website feel more visually distinctive.
Example Blog Image Prompt
Create a professional photorealistic technology image for a blog article about improving Windows PC performance. Show a modern desktop computer on a clean workstation with a monitor displaying a generic system-performance interface, subtle blue interface elements, realistic office lighting, clean composition, premium technology photography, landscape format, no unnecessary text or logos.
How to Add Text to AI-Generated Images
Text is one area where AI-generated images may require additional checking.
If an image requires an exact headline, price, website address, or product information, verify every character before publishing.
For important marketing graphics, a practical workflow is:
- Generate the visual background.
- Check the generated image for unwanted text.
- Add the final headline using a design or editing tool.
- Check spelling and alignment.
- Export the final graphic.
This gives you more control over important information.
Common Mistakes When Using AI Image Generators
Using Very Short Prompts
“Make a professional advertisement” is too vague for a specific commercial result.
Explain what the advertisement should show and how it should look.
Trying to Fix Everything With One Prompt
If the generated image has one specific problem, make a targeted revision rather than completely rewriting the prompt every time.
Ignoring Image Dimensions
A beautiful image can still be unsuitable if the composition does not fit the intended platform.
Decide on the required orientation before generating the image.
Trusting the First Result
Always inspect the final image carefully. AI-generated visuals can contain subtle mistakes that are easy to overlook.
Forgetting Brand Consistency
If you are creating images for a business, keep important visual elements consistent across the campaign.
Publishing Without Human Review
AI should assist the creative process, not replace quality control. Review the final image yourself before publishing.
A Simple AI Image Creation Workflow
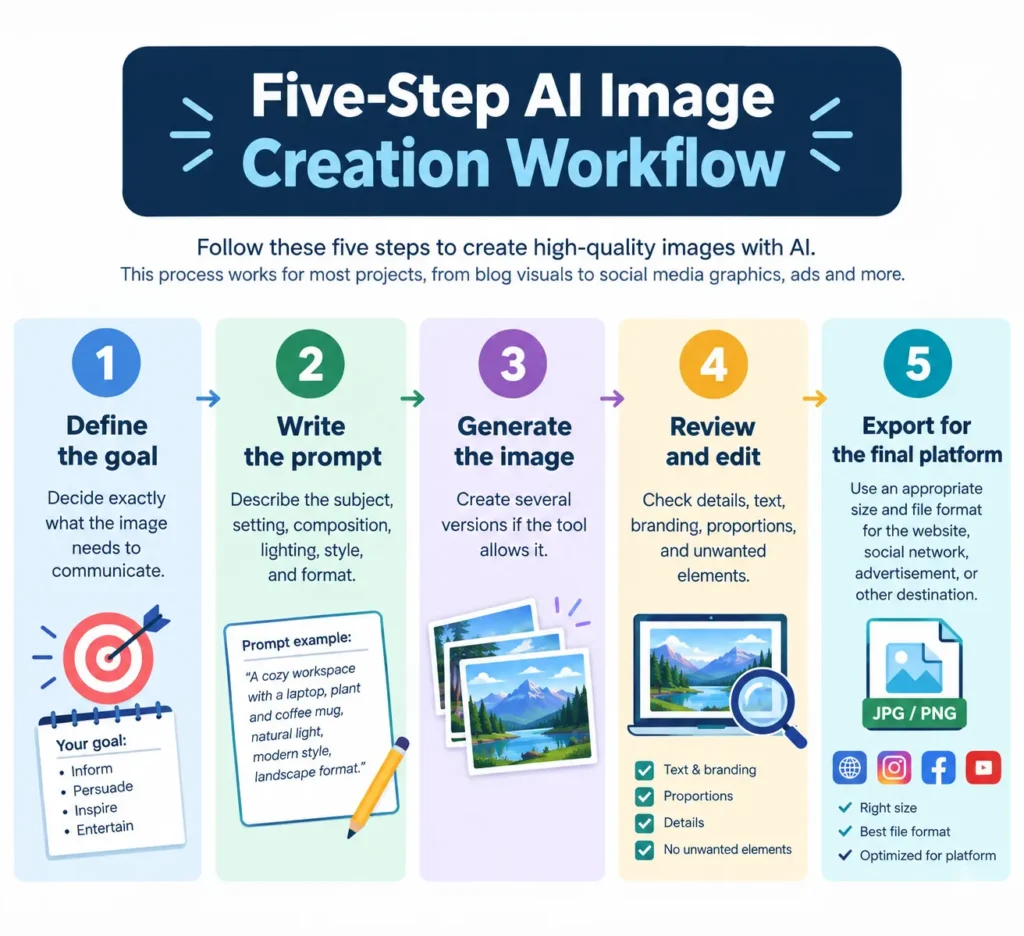
You can use this five-step process for most projects:
Step 1: Define the goal
Decide exactly what the image needs to communicate.
Step 2: Write the prompt
Describe the subject, setting, composition, lighting, style, and format.
Step 3: Generate the image
Create several versions if the tool allows it.
Step 4: Review and edit
Check details, text, branding, proportions, and unwanted elements.
Step 5: Export for the final platform
Use an appropriate size and file format for the website, social network, advertisement, or other destination.
Key Takeaways
- Start with the purpose of the image, not the AI tool.
- Write specific prompts instead of vague descriptions.
- Use reference images when visual consistency is important.
- Generate multiple versions and compare them.
- Check faces, hands, text, logos, reflections, and proportions.
- Add important marketing text during the editing stage when appropriate.
- Match the image composition to its intended platform.
- Always review AI-generated content before publishing or using it commercially.
Frequently Asked Questions
Yes. AI image generators can create polished visuals for many purposes, including marketing, websites, social media, presentations, and concept development. The quality depends on the tool, prompt, reference material, editing process, and human review.
Describe the main subject, setting, composition, lighting, visual style, camera perspective, colors, and output requirements. Include only details that are relevant to the desired result and refine the prompt when something needs correction.
It depends on the AI service and how the image was created. Before commercial use, review the provider’s current terms, licensing conditions, and any rights associated with reference images, trademarks, people, or other source material.
Use specific descriptions of lighting, materials, environments, perspective, and natural shadows. After generation, inspect small details such as hands, faces, reflections, edges, and object proportions and make corrections when necessary.
AI and traditional design serve different purposes. AI can accelerate idea generation and visual creation, while traditional design software provides precise control over layout, typography, branding, and final production. Combining both approaches can be effective.
Conclusion
Learning how to use AI to make professional images is mainly about giving the technology clear creative direction and carefully reviewing the result. A strong workflow combines a well-defined objective, detailed prompting, reference images when necessary, iterative generation, and human quality control.
Start with a simple project, create several versions, identify what needs improvement, and refine the prompt or edit the result. With practice, AI can become a useful part of your regular design and content-creation workflow.