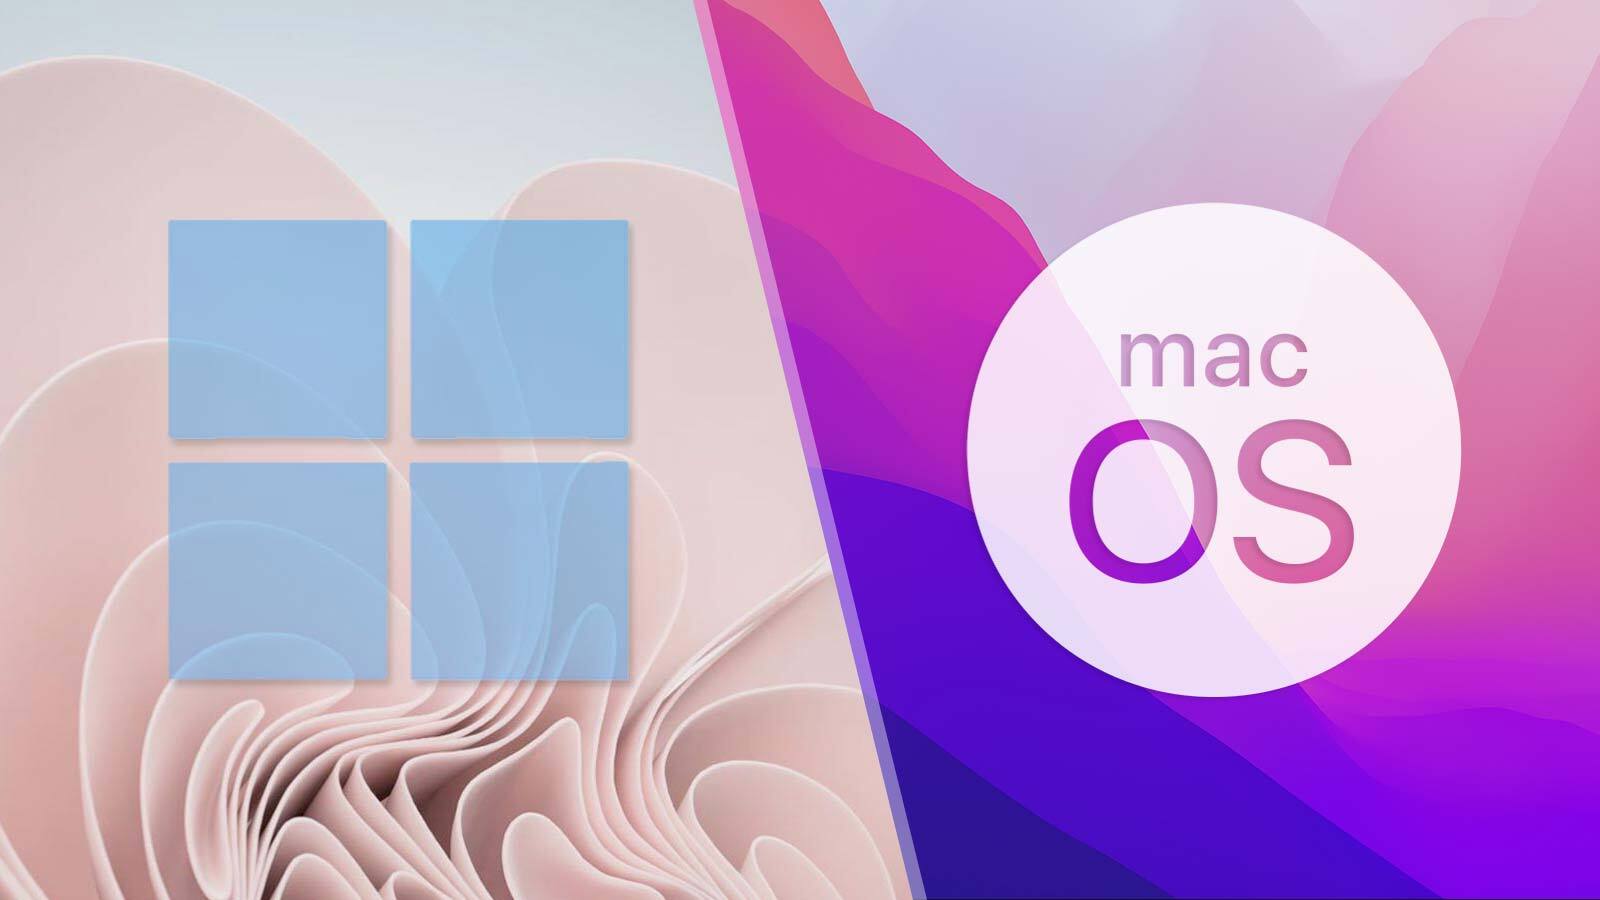
Switching from a Windows PC to a MacBook can feel both exciting and challenging. If you have spent years using Windows, the macOS interface may seem unfamiliar at first. However, Apple has designed macOS to be intuitive, user-friendly, and highly efficient. Once you learn the basics, you may find that many tasks become faster and more enjoyable.
This beginner’s guide will help you understand the key differences between Windows and MacBook, learn essential shortcuts, and become comfortable with your new device.
Table of Contents
ToggleWhy People Switch from Windows to MacBook
Many users move from Windows laptops to MacBooks because of Apple’s premium hardware, excellent battery life, smooth performance, and seamless integration with other Apple devices.
Some common reasons include:
- Longer battery life
- Better build quality
- Faster performance optimization
- Enhanced security
- Easy integration with iPhone and iPad
- Regular software updates
While the operating systems differ, the core tasks—browsing the internet, creating documents, managing files, and watching videos—remain the same.
Understanding the macOS Interface

The first thing you’ll notice when opening a MacBook is that the desktop looks different from Windows.
The Menu Bar
Instead of having menus inside each application window, macOS places the active app’s menu at the top of the screen.
You’ll find options such as:
- File
- Edit
- View
- Window
- Help
These menus change depending on the application you are using.
The Dock
The Dock is similar to the Windows taskbar but is usually located at the bottom of the screen.
The Dock allows you to:
- Launch applications
- Switch between open apps
- Access frequently used programs
- Open Downloads and Trash
You can customize the Dock by dragging apps in or out.
Finder
Finder is the Mac equivalent of Windows File Explorer.
Using Finder, you can:
- Browse files and folders
- Organize documents
- Search for files
- Access external drives
The Finder icon is always available in the Dock.
MacBook Keyboard Differences

One of the biggest adjustments for Windows users is learning the Mac keyboard.
The Command Key
The Command (⌘) key replaces many functions previously performed by the Ctrl key on Windows.
Common shortcuts include:
Windows | MacBook |
Ctrl + C | Command + C |
Ctrl + V | Command + V |
Ctrl + X | Command + X |
Ctrl + Z | Command + Z |
Ctrl + A | Command + A |
Ctrl + S | Command + S |
The Command key is located next to the Space Bar.
Option Key
The Option (⌥) key works similarly to Alt on Windows and provides additional functions and special characters.
Control Key
The Control key still exists but is used less frequently than on Windows systems.
Essential MacBook Keyboard Shortcuts

Learning shortcuts can significantly improve productivity.
General Shortcuts
- Command + C = Copy
- Command + V = Paste
- Command + X = Cut
- Command + Z = Undo
- Command + A = Select All
- Command + P = Print
- Command + S = Save
System Shortcuts
- Command + Space = Open Spotlight Search
- Command + Tab = Switch Between Applications
- Command + Q = Quit Application
- Command + W = Close Window
- Command + M = Minimize Window
Screenshot Shortcuts
- Command + Shift + 3 = Full Screen Screenshot
- Command + Shift + 4 = Select Area Screenshot
- Command + Shift + 5 = Screenshot and Screen Recording Tools
These shortcuts are among the most useful for new MacBook users.
How to Install Applications
Installing apps on a MacBook differs slightly from Windows.
Using the App Store
Apple provides the App Store where you can safely download applications.
Popular apps include:
- Microsoft Office
- Canva
- Notion
- Zoom
- Slack
Downloading from Websites
Many applications can also be downloaded directly from developer websites.
After downloading:
- Open the DMG file.
- Drag the application into the Applications folder.
- Launch the app.
Unlike Windows, you typically do not need lengthy installation processes.
Understanding Finder and File Management
Windows users often rely on File Explorer. On a MacBook, Finder serves the same purpose.
Important Finder Locations
Desktop
Stores files visible on your desktop.
Downloads
Contains downloaded files from browsers.
Documents
Stores work files and personal documents.
Applications
Contains installed applications.
Tags
macOS allows you to tag files with colors for easier organization.
For example:
- Red = Urgent
- Blue = Personal
- Green = Completed
This feature helps manage large numbers of files efficiently.
Spotlight Search: Your New Best Friend
Spotlight Search is one of macOS’s most powerful features.
Press:
Command + Space
You can instantly:
- Find files
- Launch apps
- Search contacts
- Perform calculations
- Convert units
- Search the web
Many experienced Mac users rely on Spotlight instead of manually browsing folders.
Understanding Window Management
Window behavior differs from Windows.
Window Buttons
Every Mac application has three colored buttons:
🔴 Red = Close Window
🟡 Yellow = Minimize Window
🟢 Green = Full Screen Mode
Unlike Windows, closing a window does not always completely quit the application.
To fully quit an app:
Command + Q
Learning Trackpad Gestures
MacBook trackpads are considered among the best in the industry.
Useful Gestures
Two-Finger Scroll
Move two fingers up or down to scroll.
Pinch to Zoom
Use two fingers to zoom in or out.
Three-Finger Swipe
Switch between desktops or full-screen apps.
Swipe Up with Three Fingers
Open Mission Control to see all active windows.
Mastering gestures can dramatically improve navigation speed.
Mission Control and Multiple Desktops
Mission Control helps organize your workspace.
Open it by:
- Pressing F3
- Swiping up with three fingers
You can create multiple virtual desktops for different tasks.
For example:
- Desktop 1: Work
- Desktop 2: Personal
- Desktop 3: Entertainment
This helps keep your workflow organized.
How to Right-Click on a MacBook
Many Windows users wonder how to right-click.
You have several options:
Two-Finger Click
Tap with two fingers on the trackpad.
Control Click
Hold Control and click.
External Mouse
Use a standard right-click mouse.
You can customize these settings in:
System Settings → Trackpad
Connecting External Devices
Modern MacBooks use USB-C ports.
You may need adapters for:
- USB-A devices
- HDMI displays
- SD cards
- Ethernet connections
A USB-C hub is a useful accessory for most MacBook users.
iCloud and Apple Ecosystem Benefits
If you own an iPhone or iPad, a MacBook offers powerful integration.
iCloud Sync
Automatically sync:
- Photos
- Documents
- Notes
- Contacts
- Calendars
AirDrop
Transfer files wirelessly between Apple devices.
Handoff
Continue tasks between devices seamlessly.
For example, start writing an email on your iPhone and finish it on your MacBook.
Security Advantages of macOS
If you own an iPhone or iPad, a MacBook offers powerful integration.
iCloud Sync
Automatically sync:
- Photos
- Documents
- Notes
- Contacts
- Calendars
AirDrop
Transfer files wirelessly between Apple devices.
Handoff
Continue tasks between devices seamlessly.
For example, start writing an email on your iPhone and finish it on your MacBook.
Common Mistakes New Mac Users Make
Not Learning Keyboard Shortcuts
Shortcuts dramatically improve productivity.
Closing Instead of Quitting Apps
Closing a window doesn’t always stop the application.
Use:
Command + Q
Ignoring Spotlight Search
Many users waste time browsing folders instead of using Spotlight.
Avoiding Trackpad Gestures
Trackpad gestures are a major productivity advantage.
Tips for a Smooth Transition
Give Yourself Time
The first few days may feel unfamiliar.
Learn One Feature Daily
Focus on one new shortcut or feature each day.
Customize the Dock
Keep your most-used apps readily accessible.
Explore System Settings
Many customization options are available.
Watch Tutorial Videos
Short tutorials can accelerate your learning process.
Recommended Apps for New MacBook Users
Some useful applications include:
- Google Chrome
- Microsoft Office
- Notion
- Adobe Creative Cloud
- Canva
- Zoom
- VLC Media Player
- Grammarly
These apps can help you maintain productivity while adapting to macOS.
Final Thoughts
Transitioning from Windows to a MacBook may seem overwhelming initially, but the learning curve is shorter than many people expect. Once you understand the Dock, Finder, Spotlight Search, keyboard shortcuts, and trackpad gestures, navigating macOS becomes second nature.
The key is to embrace the differences rather than trying to make macOS behave exactly like Windows. By spending a little time learning the system, you’ll discover why so many users appreciate the MacBook experience. Whether you’re a student, professional, content creator, or casual user, mastering macOS can boost productivity and make daily computing more enjoyable.