
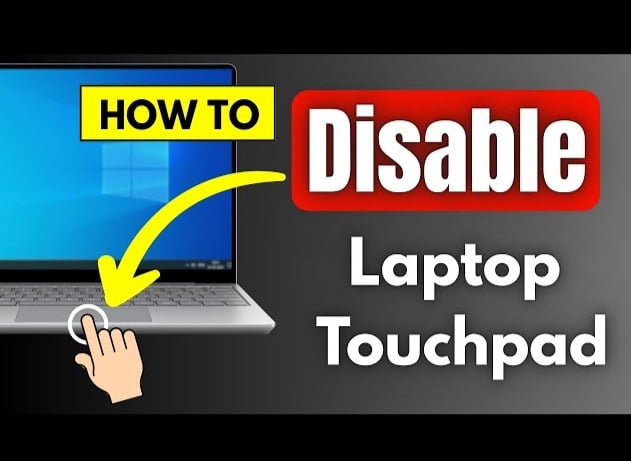
If you’ve ever wondered, “how do I disable laptop touchpad”, you’re not alone. Many laptop users prefer using an external mouse for better control and precision. However, the touchpad often remains active, leading to accidental clicks, cursor movements, or interruptions while typing. Disabling the touchpad can improve productivity, especially for gamers, writers, coders, and professionals who rely on a steady cursor.
In this guide, we’ll walk you through multiple ways to disable the laptop touchpad across Windows laptops (HP, Dell, Lenovo, ASUS, Acer, MSI) and MacBooks. We’ll also cover troubleshooting tips, temporary vs. permanent disabling methods, and how to re-enable the touchpad when needed.
Table of Contents
ToggleWhy Disable the Laptop Touchpad?
Before we dive into methods, let’s look at why people ask, “how do I disable laptop touchpad?”
- Accidental Touches: The palm often brushes the touchpad while typing, causing unwanted clicks.
- Gaming: External gaming mice provide better control, so touchpads become unnecessary.
- Ergonomics: A mouse is more comfortable for extended use compared to a touchpad.
- Customization: Some users want to disable only gestures while keeping basic functions.
Whether you’re a casual user or a power user, disabling the touchpad can be highly beneficial.
How Do I Disable Laptop Touchpad on Windows?
Method 1: Disable Touchpad from Settings (Windows 10 & 11)
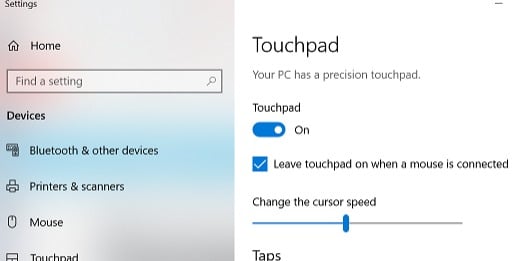
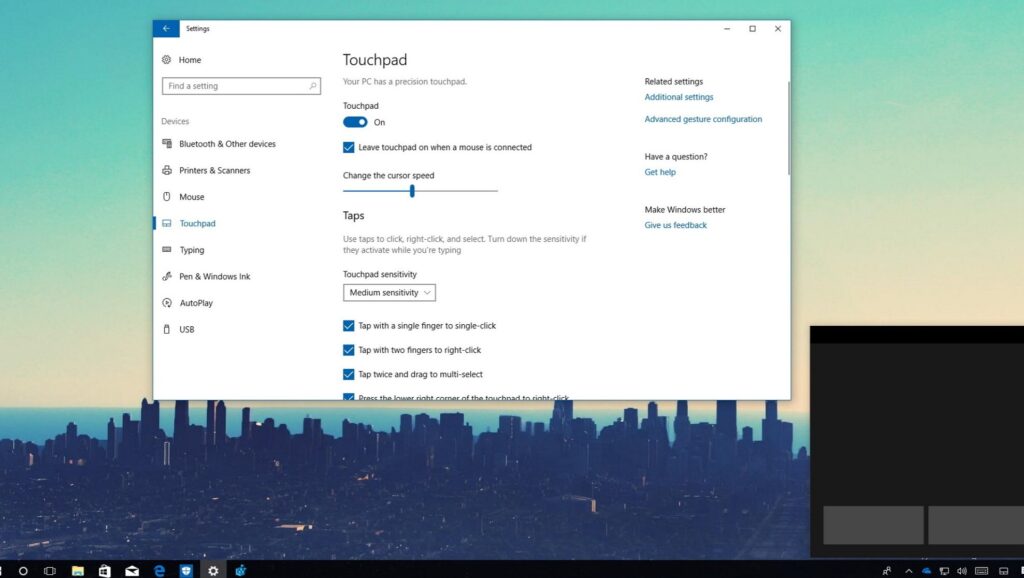
- Press Windows + I to open Settings.
- Go to Devices > Touchpad.
- Toggle the switch Off under “Touchpad.”
This is the easiest method for Windows 10/11 laptops.
Method 2: Disable Touchpad from Device Manager
If you want a more permanent solution, Device Manager is the way.
- Press Windows + X and select Device Manager.
- Expand the category Mice and other pointing devices.
- Right-click on Touchpad driver (often listed as Synaptics, ELAN, or Precision Touchpad).
- Select Disable device.
This prevents the touchpad from functioning until re-enabled.
Method 3: Use Function Keys (Quick Disable)
Most laptops come with a shortcut key to disable the touchpad.
- Look for a touchpad icon on your keyboard’s F-keys (F5, F6, F7, etc.).
- Press Fn + [Key with Touchpad Symbol] to toggle the touchpad on/off.
For example:
- HP laptops often use Fn + F5.
- Dell laptops may use Fn + F7.
- Lenovo laptops often use Fn + F8.
Check your laptop manual if you’re unsure.
Method 4: Disable Touchpad When Mouse is Connected
Windows allows you to disable the touchpad automatically when an external mouse is connected.
- Open Settings > Devices > Touchpad.
- Scroll down and check “Leave touchpad on when a mouse is connected.”
- Uncheck this option.
Now the touchpad will disable itself whenever you plug in a mouse.
How Do I Disable Laptop Touchpad on MacBook?

If you’re a MacBook user asking, how do I disable laptop touchpad ?, here’s how:
Method 1: Disable Touchpad When Mouse is Connected
- Open System Settings (or System Preferences on older macOS).
- Go to Accessibility > Pointer Control.
- Check the option “Ignore built-in trackpad when mouse or wireless trackpad is present.”
This disables the touchpad automatically whenever you connect a mouse.
Method 2: Use Terminal Commands (Advanced)
For advanced users:
- Open Terminal.
- Type the following command:
- Restart your MacBook.
This command disables touchpad gestures. However, for complete disabling, third-party apps may be required.
Method 3: Use Third-Party Apps
Apps like BetterTouchTool or Karabiner-Elements allow customization, including disabling the MacBook touchpad.
How Do I Disable Laptop Touchpad Temporarily vs. Permanently?
When asking, “how do I disable laptop touchpad?”, you should decide whether you need a temporary or permanent solution.
- Temporary Disable: Use function keys, Settings toggle, or auto-disable with a mouse connected.
- Permanent Disable: Use Device Manager (Windows) or third-party apps (MacBook) to completely shut off the touchpad.
Troubleshooting: What If I Can’t Disable My Touchpad?

Sometimes the option to disable the touchpad is missing. Here’s what to do:
Update Touchpad Drivers: Go to your laptop manufacturer’s website and install the latest Synaptics or ELAN drivers.
Check BIOS Settings: Some laptops allow disabling the touchpad in BIOS. Restart your laptop, enter BIOS (usually by pressing F2 or Del), and look for touchpad settings.
Reinstall Drivers: In Device Manager, uninstall the touchpad driver, then restart your laptop.
How to Re-Enable the Touchpad
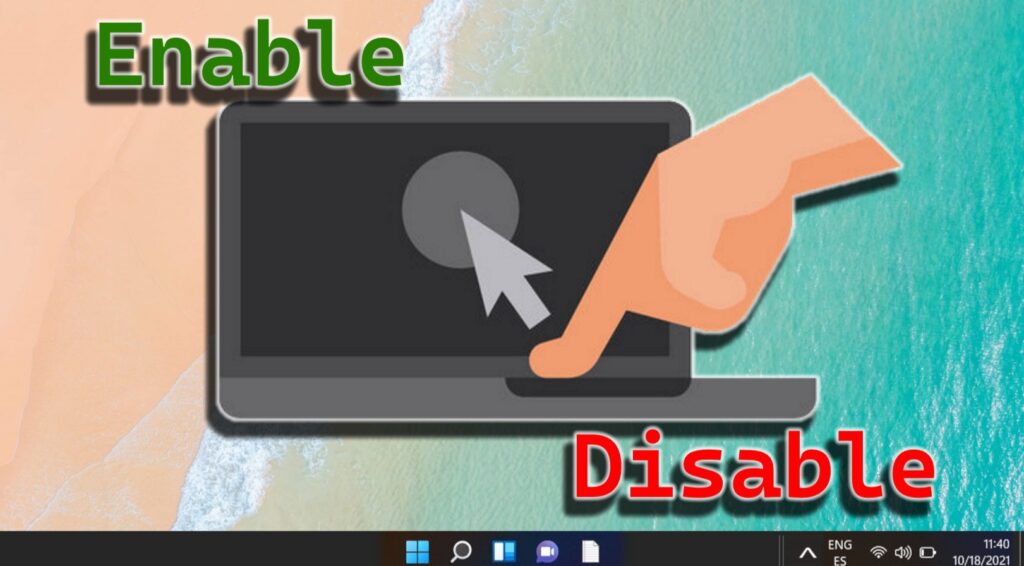
If you disabled your touchpad but need it again:
- Go to Device Manager, right-click your touchpad driver, and select Enable device.
- On Mac, uncheck the setting that ignores the built-in trackpad.
- Use the function key shortcut to turn it back on.
Pros and Cons of Disabling the Laptop Touchpad

Pros:
Prevents accidental clicks.Enhances mouse or gaming experience.Improves productivity for writers and coders.
Cons:
Inconvenient if you forget your mouse.Some laptops may not have easy re-enable options.Requires third-party tools on macOS for full control.
Advanced Tip: Disable Only Touchpad Gestures
If you like the touchpad but dislike gestures:
- On Windows: Go to Settings > Devices > Touchpad > Gestures and turn off unwanted ones.
- On Mac: Go to System Settings > Trackpad and customize gesture controls. This way, you can keep basic cursor control while eliminating accidental swipes.
Final Thoughts
If you’re asking yourself, “how do I disable laptop touchpad”, the good news is that both Windows and macOS provide multiple ways to do so. From quick toggles and function keys to deeper Device Manager or Accessibility settings, you can choose between temporary and permanent disabling options.
Disabling the touchpad ensures better productivity, fewer typing interruptions, and smoother gaming. And if you ever need it back, re-enabling is just as simple.
By following the methods in this guide, you’ll always stay in control of your laptop’s input experience.