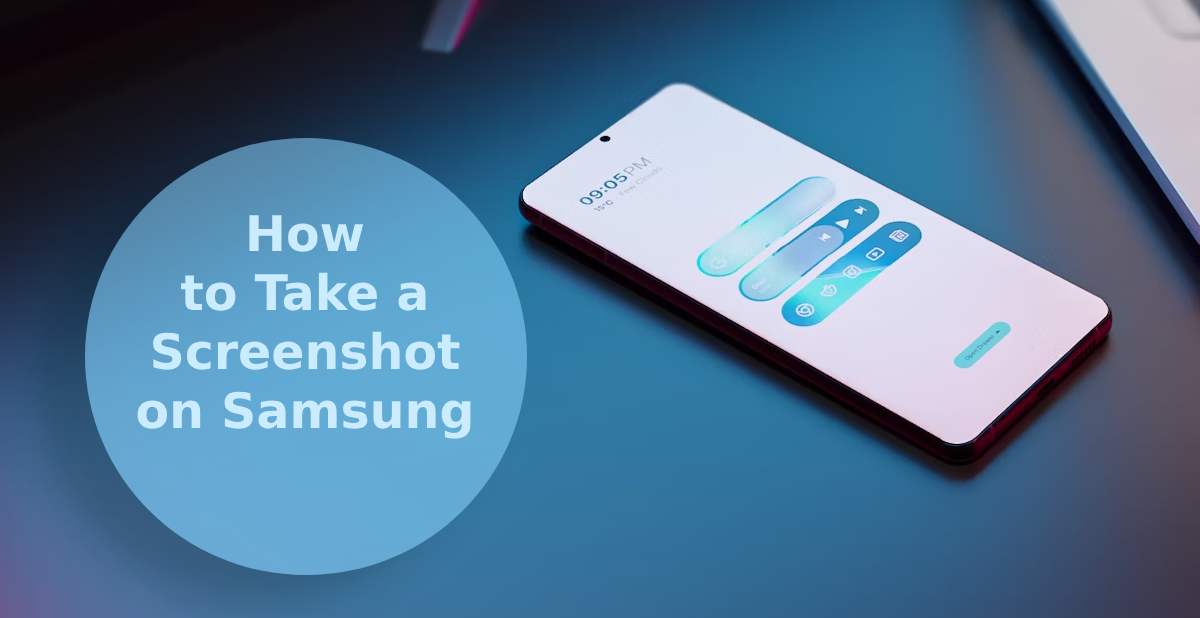
Taking a screenshot on a Samsung device is incredibly useful, whether you want to save a memorable conversation, capture an interesting social media post, or keep a record of important information. Samsung offers several ways to take screenshots, making it easy and convenient no matter which model you’re using. In this guide, we’ll explore all the methods you can use to capture your screen, from the traditional button combination to advanced features like palm swipe and Bixby voice commands.
Let’s dive into the world of screenshots and learn exactly how to screenshot on Samsung devices!
Table of Contents
ToggleWhy You Need to Take Screenshots
Screenshots have become an essential part of our digital lives, offering a quick and convenient way to capture information. Whether you’re using a smartphone, tablet, or computer, screenshots can save time and help you communicate more effectively. But why exactly should you take screenshots? Here are some compelling reasons:
- Save Important Information: Capture receipts, booking confirmations, or crucial details that you might need later.
Troubleshooting and Support: Share error messages or issues with tech support for faster problem-solving. - Record Conversations: Keep a record of important chats or social media interactions.
Share Ideas and Inspiration: Save interesting posts, design ideas, or quotes for future reference. - Educational Purposes: Use screenshots to create tutorials or step-by-step guides.
1. Taking a Screenshot Using Hardware Buttons
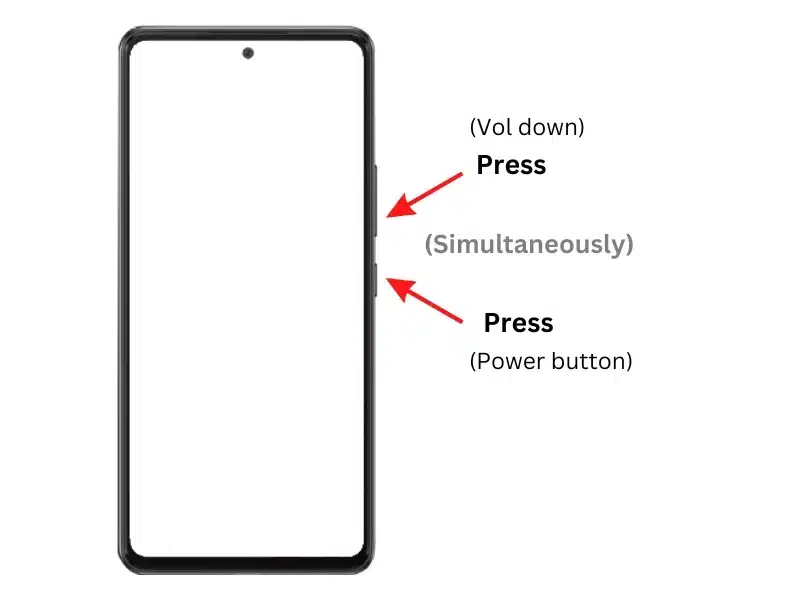
The most common and straightforward way to take a screenshot on Samsung devices is by using a button combination. This method works on almost all Samsung Galaxy models, including the latest Galaxy S and Note series. Here’s how to do it:
- Step 1: Navigate to the screen you want to capture.
- Step 2: Press the Volume Down button and the Power button simultaneously.
- Step 3: Hold them for about a second until you see a flash on the screen, indicating that the screenshot has been captured.
The screenshot will be saved in the Gallery under the “Screenshots” folder. This method is fast and effective, making it ideal for quickly capturing anything on your screen.
2. Taking a Screenshot with Palm Swipe Gesture
Samsung offers a unique way to take screenshots using the palm swipe gesture. This feature needs to be enabled first:
- Step 1: Go to Settings > Advanced Features > Motions and gestures.
- Step 2: Toggle on Palm swipe to capture.
Once enabled, follow these steps:
- Step 1: Place the edge of your hand on one side of the screen.
- Step 2: Swipe it across the screen from left to right or right to left.
- Step 3: You’ll see the screen flash, confirming the screenshot.
This method is convenient if you find it difficult to press buttons simultaneously. However, make sure your hand is fully touching the screen to avoid any issues.
3. Using Bixby or Google Assistant to Take a Screenshot
If you prefer a hands-free approach, Bixby can help you take a screenshot using voice commands. Here’s how:
- Step 1: Activate Bixby by pressing and holding the Bixby button or by saying, “Hi Bixby.”
- Step 2: Once Bixby is listening, say, “Take a screenshot.”
- Step 3: The screenshot will be automatically captured and saved in the Gallery.
You can also combine this with other commands, like “Take a screenshot and share it on WhatsApp,” for even more convenience.
4. Capturing a Scrolling Screenshot
Need to capture long web pages or chat conversations? Samsung’s scrolling screenshot feature is perfect for that:
- Step 1: Take a screenshot using any method mentioned above.
- Step 2: After the screenshot is taken, you’ll see a toolbar with a Scroll Capture option (two downward arrows).
- Step 3: Tap on Scroll Capture to keep scrolling and capturing more of the page.
- Step 4: Once you’ve captured the desired length, tap Done.
The complete screenshot will be saved as one long image, which is great for keeping comprehensive records.
5. Using the S Pen to Take a Screenshot (Samsung Galaxy Note Series)
If you own a Samsung Galaxy Note device with an S Pen, you can use it to take precise screenshots:
- Step 1: Remove the S Pen to activate the Air Command menu.
- Step 2: Tap on Smart Select or Screen Write.
- Step 3: Use the S Pen to select the area you want to capture.
- Step 4: You can annotate or edit the screenshot before saving it.
This method is ideal for users who need to highlight or add notes to their screenshots.
6. Taking a Screenshot with Edge Panels
Samsung’s Edge Panel is another excellent way to capture screenshots:
- Step 1: Ensure the Edge Panel is enabled by going to Settings > Display > Edge Screen > Edge Panels.
- Step 2: Swipe in from the edge of the screen to open the panel.
- Step 3: Navigate to the “Smart Select” section.
- Step 4: Choose from the options: Rectangle, Oval, or Animation.
- Step 5: Select the area you want to capture, and tap Done to save it.
This feature is particularly useful if you only want to capture a specific part of the screen rather than the whole display.
Frequently Asked Questions (FAQs)
You can use the Palm Swipe feature, Bixby, Google Assistant, or Edge Panels.
Check if the feature is enabled, ensure sufficient storage, or restart your device.
Yes, use the “Scroll Capture” feature after taking a normal screenshot.
Screenshots are saved in the Gallery > Screenshots folder.
Conclusion
Taking a screenshot on Samsung devices is easy and flexible, thanks to the variety of methods available. Whether you prefer using buttons, gestures, voice commands, or the S Pen, Samsung ensures there’s a method suitable for everyone. By understanding all these techniques, you’ll never miss capturing an important moment or piece of information again.
We hope this guide on how to screenshot on Samsung helps you make the most of your device’s capabilities. Start capturing your screen today and share your favorite moments effortlessly!